
How to install Edge Transport Server in Exchange 2019 organization
In this blog we will discuss how to install Edge Transport server role in Exchange 2019 organization and we will meet all the prerequisites required for Edge Transport server installation.
Table of Contents
Watch video
Please join us on our YouTube channel and watch how to install Edge Transport Server in Exchange Server 2019 organization.
Exchange Edge Transport Server prerequisites
In the previous article we talked about prerequisites those are required to install Edge Transport server. So let’s meet all these prerequisites one by one.
Step 1. You need to open port 25, 389, and 50636 on the server on which we want to install Edge Transport server role.
Open RUN and type firewall.cpl. Go to Advanced settings and create inbound and outbound rules to open ports.
Step 2. You need to create inbound and outbound firewall rules on Domain Controller to open port 389 and 50636.
Step 3. You need to open port 25 between router and the server on which you will install Edge Transport Server role.
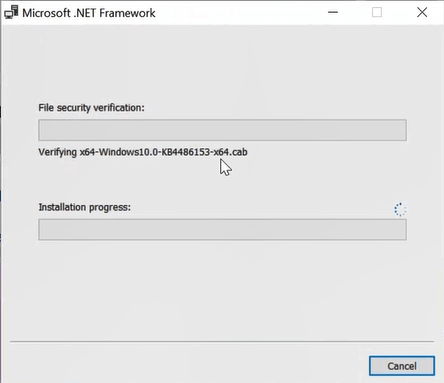
Step 4. Install .NET Framework 4.8.
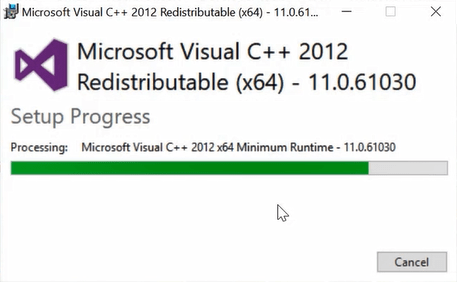
Step 5. Install Visual C++ Redistributable Package for Visual Studio 2012.
Step 6. Run below command on Edge server to install required Windows components. Open Windows PowerShell as administrator and run below command:
Install-WindowsFeature ADLDSStep 7. Restart machine.
Step 8. Assign static IP address to Edge server and point DNS to Active Directory.
I have below IP address configuration for Domain Controller:
| IP Address | 192.168.1.40 |
| Subnet Mask | 255.255.255.0 |
| Default Gateway | 192.168.1.1 |
To join Edge server machine with Domain Controller, I will be using below IP address configuration:
| IP Address | 192.168.1.48 |
| Subnet Mask | 255.255.255.0 |
| Default Gateway | 192.168.1.1 |
| Preferred DNS Server | 192.168.1.40 |
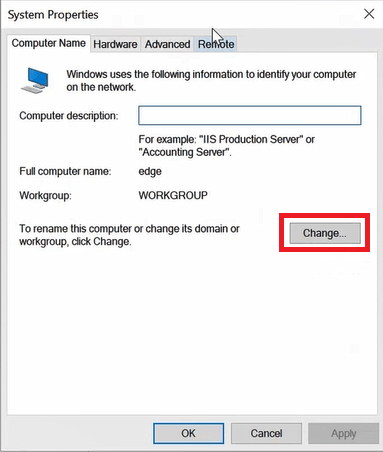
Now go to system properties and click Change settings. Click Change.
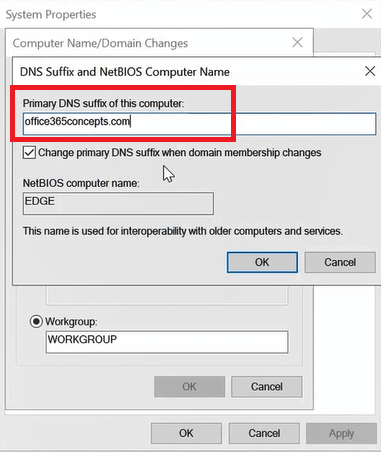
Click More, and under Primary DNS suffix of this computer, type Active Directory domain name and click OK.
Step 9. Restart machine.
Step 10. In this step we will create A record and will point it to internal IP address of Edge server. Go to DNS Manager expand Forward Lookup Zones and click your domain name. Right click and select New Host (A or AAAA) and type details as shown below:
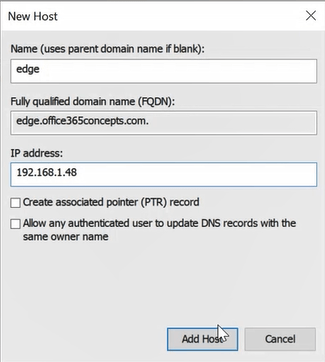
Where edge is the hostname of the machine, and IP address is the internal IP of the edge server machine.
How to install Edge Transport server role in Exchange 2019
Step 1. Download Exchange Server 2019 ISO image.
Step 2. Mount ISO and run setup application.
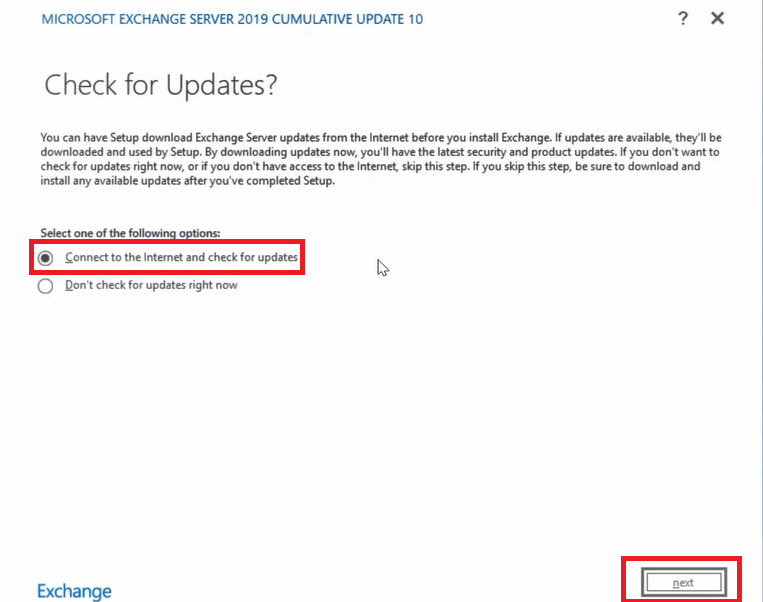
On Check for Updates page, select Connect to the Internet and check for updates and click Next.
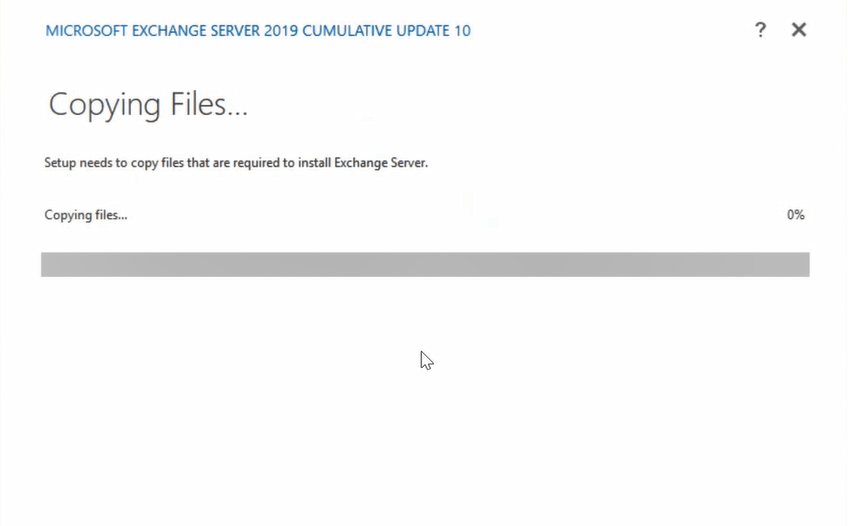
Setup wizard will install updates (if found any) and will copy the required files for the installation:
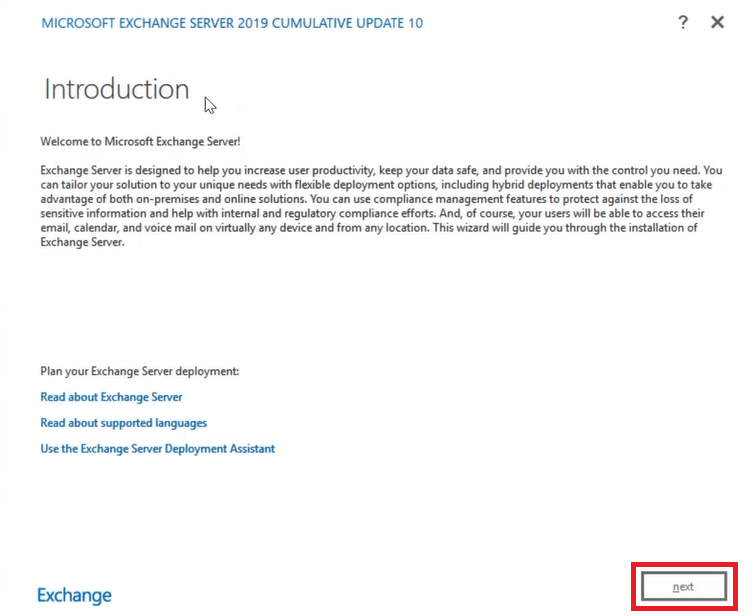
On the Introduction page, click Next.
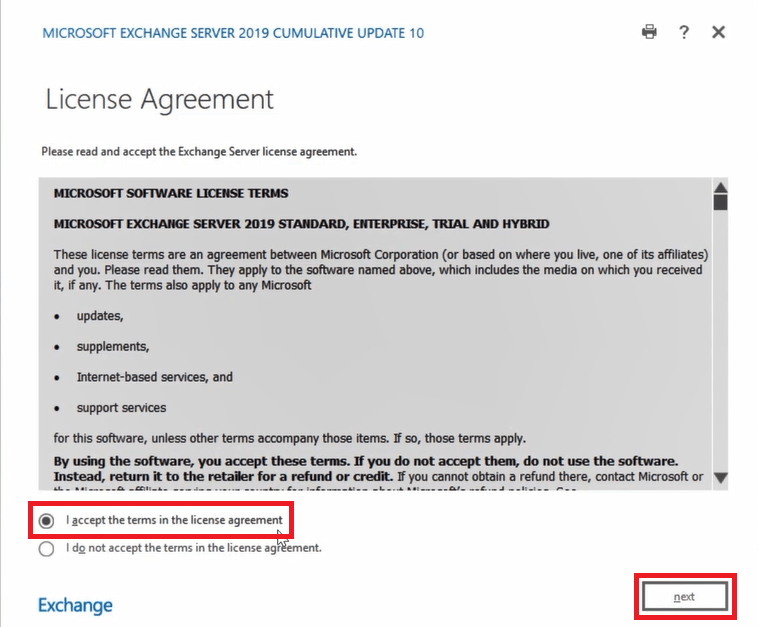
On License Agreement page, select I accept the terms in the license agreement and click Next.
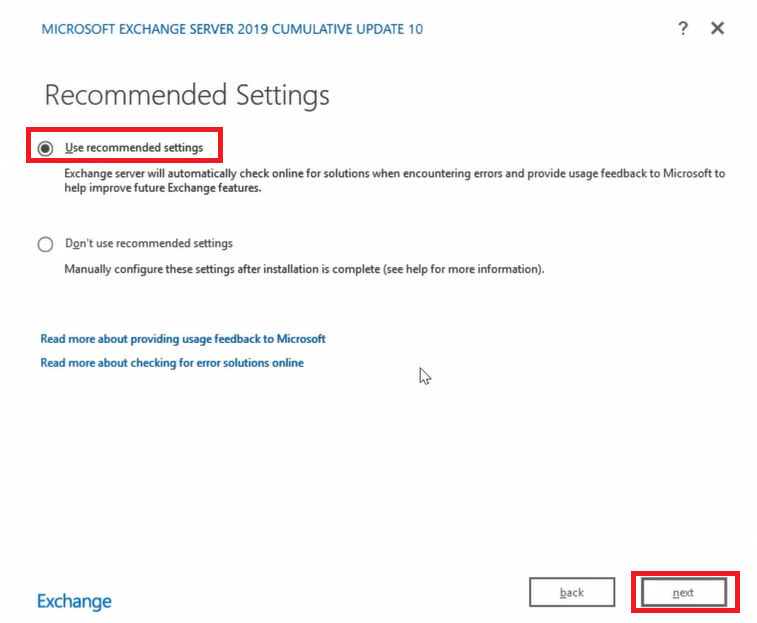
On Recommended Settings, select User recommended settings and click Next.
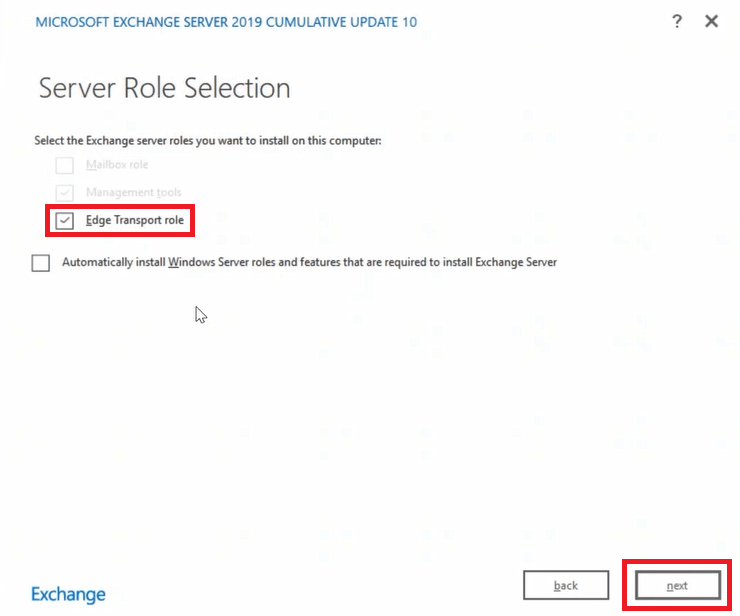
On Server Role Selection, check Edge Transport Role and click Next.
On Installation Space and Location, click Next.
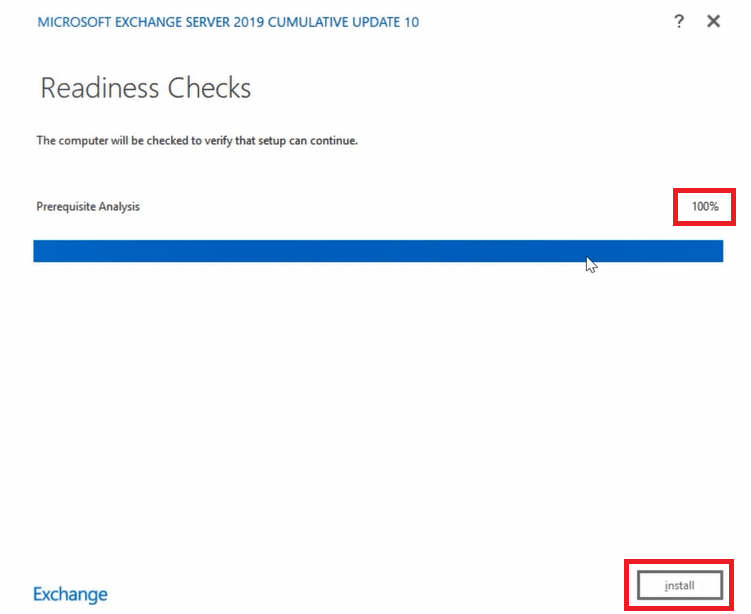
Now wizard will validate if all the required prerequisites are met or not. If it is completed 100% successfully, click Install to begin Edge Server role installation. If you see any errors during prerequisite check, please go through the error details and resolve them and run this step again.
Now this wizard will start Edge Server Role installation and you can see the setup progress on your screen as shown below:

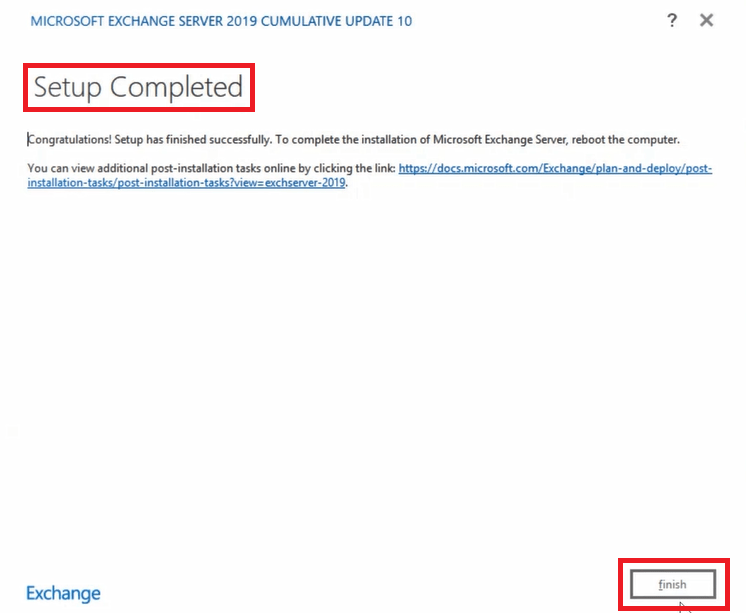
And once installation is completed, you will see below screen. Click Finish to complete the setup.
Step 3. Restart machine.
Step 4. Let’s check Edge Server health status. Run below command in Exchange Management Shell:
Test-ServiceHealth
In above image you can see all the required services are running.
Step 5. In this step we will create Let’s Encrypt certificate for Edge Transport Server. Please follow instructions in this article to create free Let’s Encrypt certificate. While creating certificate, you need to add your domain name and mail.domain.com in Subject Alternative Name of the certificate.
Step 6. Now let’s verify the certificate on Edge Transport Server. Run below command in Exchange Management Shell:
Get-ExchangeCertificate | Select Subject, Services, Thumbprint
Step 7. Now we need to bind this certificate with SMTP service on Edge Transport server. Copy certificate thumbprint from the above command, and run below command in Exchange Management Shell:
Enable-ExchangeCertificate -Thumbprint "1614C09B4A5368..." -Services SMTP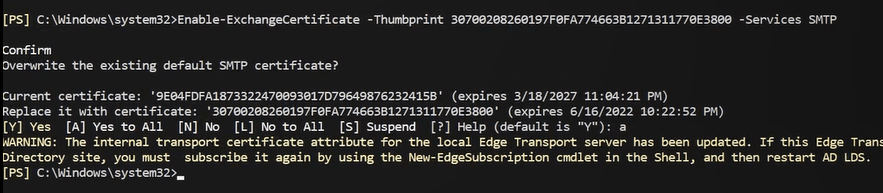
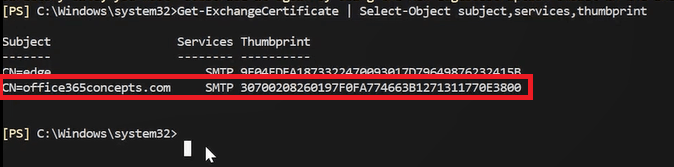
To verify if SMTP service is associated with the certificate, run below command:
let's verify the certificate. Get-ExchangeCertificate | Select Subject, Services, ThumbprintIn below image you can see SMTP service is now associated with Let’s Encrypt certificate:
Edge Subscriptions in Exchange Server
Next, we will create Edge Subscriptions. When we create Edge Subscriptions between Mailbox Server and the Edge Server, it creates a secure and automatic replication of the information from Active Directory to AD LDS that is running on the Edge Server.
Edge subscription is a 2 step process. First we create an xml file that includes the information about the Edge Server and then we bind that information with the Mailbox Server.
Step 1. To create XML file, run below command in Exchange Management Shell:
New-EdgeSubscription -Filename "c:\edge.xml"Step 2. Now we will copy this file and paste it on the Mailbox Server and we will bind this Edge Subscription with the Mailbox Server. Run below command in Exchange Management Shell:
New-EdgeSubscription -FileData ([byte[]]$(Get-Content -Path "C:\edge.xml" -Encoding Byte -ReadCount 0)) -Site "Default-First-Site-Name"Now let’s test if Edge Subscription was successfully created. Run below command to test Edge Synchronization:
Test-EdgeSynchronizationIf the Result says CouldNotConnect, run Start-EdgeSynchronization and wait for few minutes and run Test-EdgeSynchronization again.
Now the Edge Transport Server is setup successfully in Exchange Server 2019 organization.
Final step
As of now MX record would be pointed to the Mailbox Server (Exchange 2016 or 2019). We need to point MX record to the Edge Transport Server so that all external incoming emails will be routed to the Edge Transport server first and then will be routed to the Mailbox Server.
Conclusion
In this blog we learnt how to met prerequisites to install Edge Transport Server, we learnt how to install Edge Transport server role step by step, how to create Edge Subscriptions and how to route emails to Edge server.
If you found this article helpful and informative, please join us on our YouTube channel for latest videos on Cloud technologies and join our Newsletter for early blogs and updates.
Related articles
We welcome you to browse our other articles on Exchange Server 2019 and Exchange Hybrid deployment:
Install Active Directory on Windows Server 2019 and promote to Domain Controller
DNS records in Active Directory
Exchange Server Roles, Architecture, and Functionality Explained
Exchange Server 2019 prerequisites
Install Exchange Server 2019 on Windows Server 2019. A step by step Guide
How to configure Exchange Server 2019 post installation
Transport Pipeline in Exchange Server 2019
Configure Mail Flow in Exchange Server 2019
Create FREE Let’s Encrypt certificate and install on Exchange Server
What is Edge Transport Server
How to install Edge Transport Server in Exchange 2019 organization
Happy Learning!!