
Install Active Directory and promote to Domain Controller – Windows Server 2019
In this blog we will learn how to install Active Directory on Windows Server 2019 and promote it to Domain Controller.
Table of Contents
Watch video
Watch this video to learn how to install Active Directory on Windows Server 2019 and promote it to Domain Controller.
Install Active Directory on Windows Server 2019
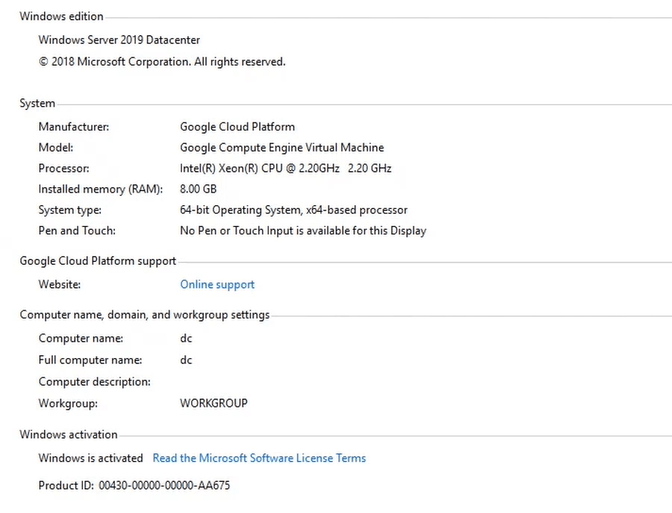
As you can see in below screenshot, I have Windows Server 2019 Datacenter and I am going to install Active Directory on this server and will promote this server to Domain Controller.
Step 1: The first step is to update the IP address, Subnet mask, Default gateway, and Preferred DNS server.
To check IP address of the machine, go to Command Prompt and run ipconfig.
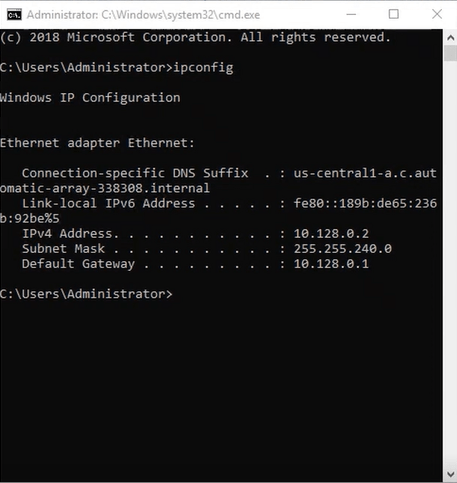
In above screenshot you can see, the IP address for this machine is 10.128.0.2 and Default gateway is 10.128.0.1.
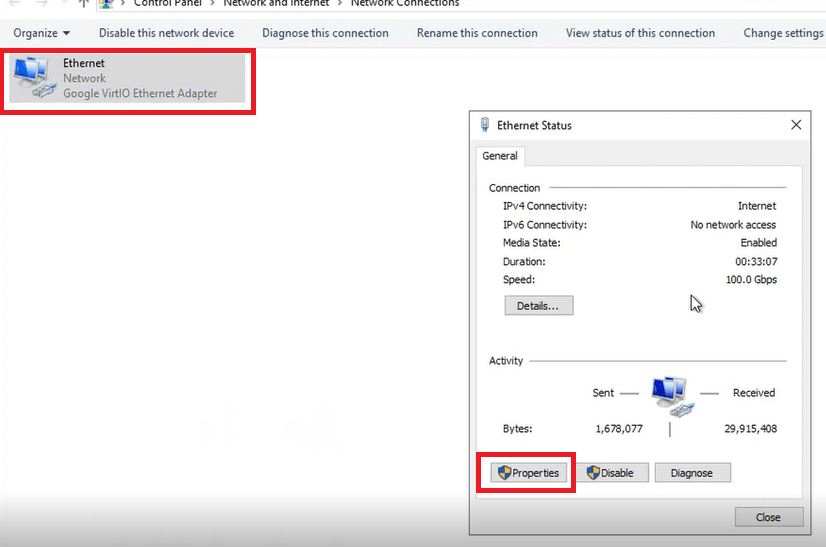
To update IP address and other details, open RUN and type ncpa.cpl and hit Enter. Double click on Ethernet network connection and click Properties.
Add below values:
IP address: 10.128.0.2
Subnet mask: 255.255.240.0
Default gateway: 10.128.0.1
Preferred DNS server: 10.128.0.2
Alternate DNS server: 8.8.8.8
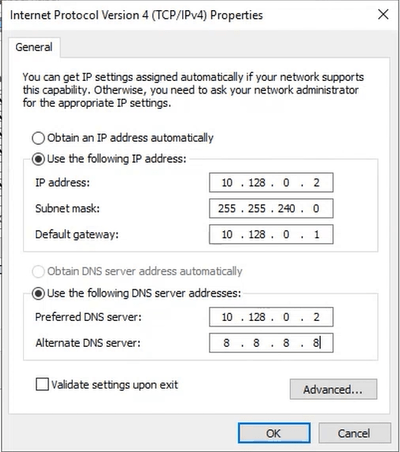
Click OK.
Step 2: In second step, we will install Active Directory on Windows Server 2019. Go to Server Manager, click Add roles and features and click Next. Under Select installation type, make sure Role-based or feature-based installation is selected and click Next. Under Select server roles, select Active Directory Domain Services, click Add features and click Next.
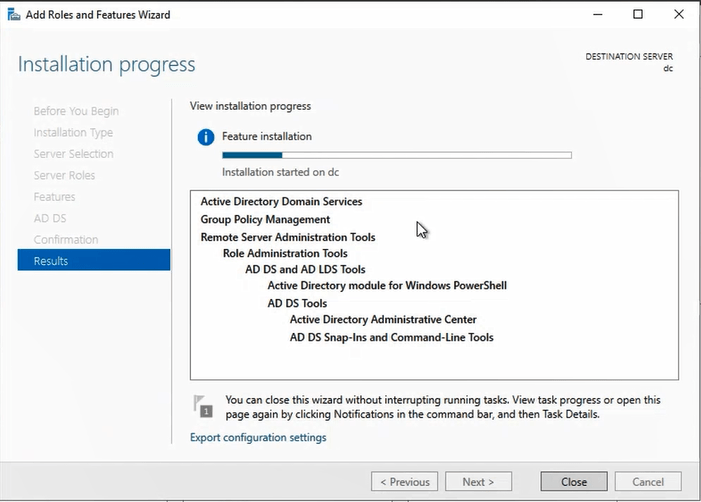
Under select features click Next and click Install on Confirm installation selections page. The wizard will install Active Directory and Domain Services.
Promote to Domain Controller
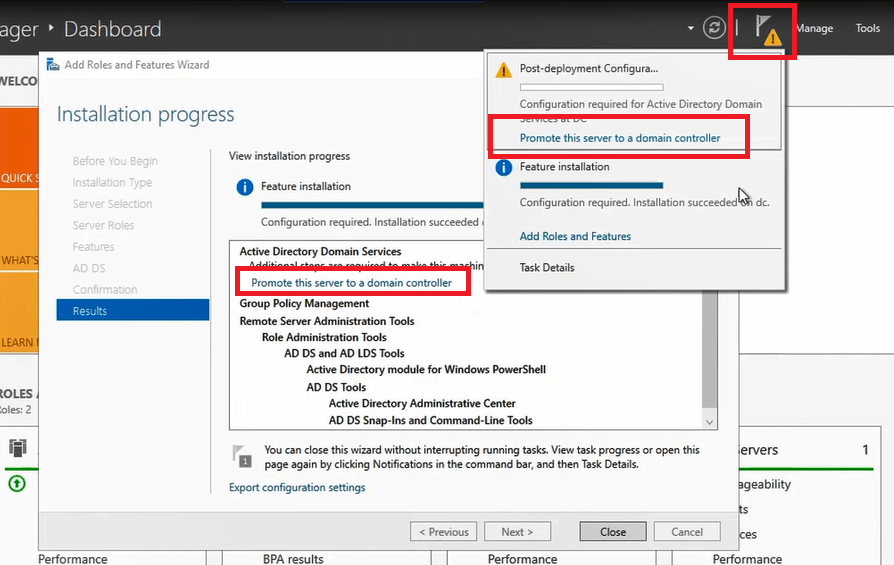
Step 3: Once the installation is done, you will see an option on the same screen Promote this server to a domain controller. You can either click this option or you can click the yellow triangle sign and then click Promote this server to a domain controller as shown in below image.
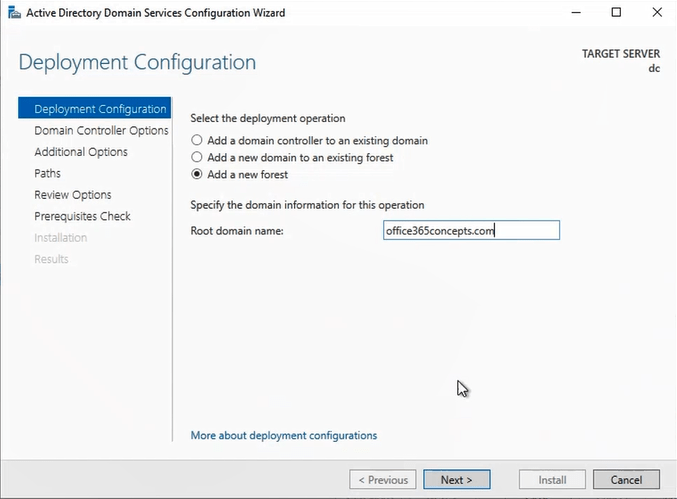
Under Deployment Configuration page, select Add a new forest and type your domain name next to Root domain name. Click Next.
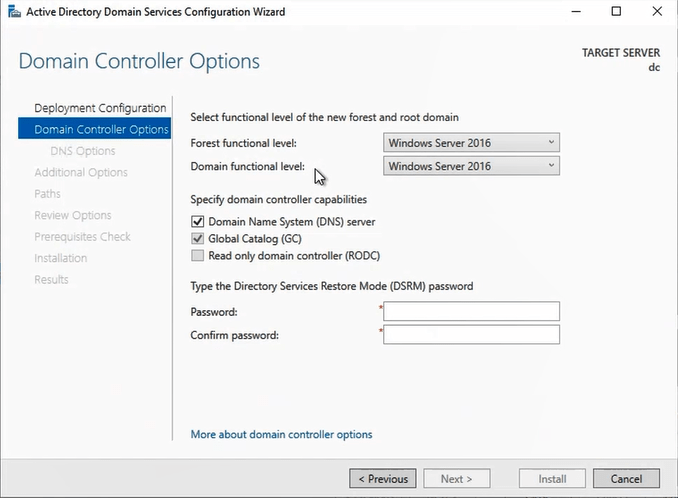
On Domain Controller options page, select Forest functional level and Domain functional level as per your business requirement or leave it default. Under Specify domain controller capabilities, check Domain Name System (DNS) server and Global Catalog. Type password for Directory Services Restore Mode and click Next.
On DNS Options page click Next. Under Additional Options click Next. On Paths page click Next.
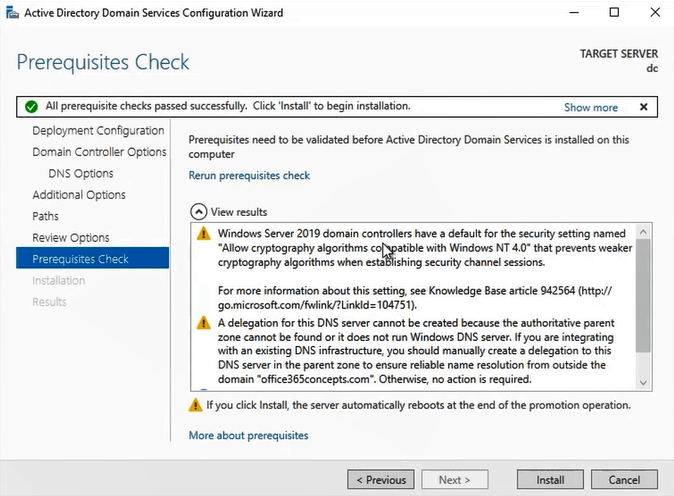
On Prerequisites page, click Install.
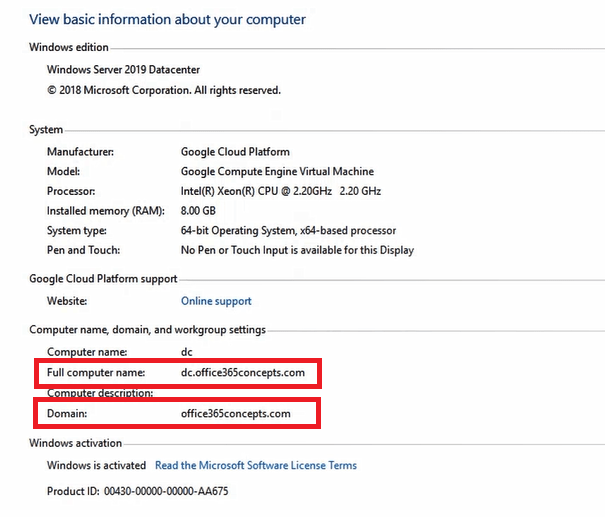
Once installation is complete, the machine will automatically restart. Now if you go to machine’s properties, you will see the domain name and the fully qualified domain name of the machine.
Conclusion
In this blog we learnt how to install Active Directory on Windows Server 2019 and how to promote the server to a Domain Controller.
Did you enjoy this article? You may also like Demystifying Azure AD Registered Devices. Don’t forget to follow us and share this article.