
How to configure Exchange Server 2019 post installation
In this article we will learn how to configure Exchange Server 2019 post installation, we will learn how to set up a new Exchange 2019 server, how to configure Exchange server 2019 virtual directories, and how to create required DNS records in Active Directory for Exchange server to function properly.
So join us and let’s explore this blog and understand how to configure Exchange Server 2019 post installation step by step.
This is the 6th article of Exchange Server 2019 and Exchange Hybrid series. Please refer to below links if you want to go through the previous articles:
Install Active Directory on Windows Server 2019 and promote to Domain Controller
DNS records in Active Directory
Demystifying Exchange Server: Roles, Architecture, and Functionality Explained
Exchange Server 2019 prerequisites
Install Exchange Server 2019 on Windows Server 2019. A step by step Guide
Table of Contents
Watch video
Please join us on our YouTube channel and explore how to setup a new Exchange 2019 server post installation.
Configure Exchange Server 2019 post installation
Exchange Server 2019 virtual directories
Exchange Server 2019 virtual directories explained
When we install Exchange 2019, it automatically configures multiple Internet Information Services (IIS) virtual directories. A virtual directory is used by Internet Information Services (IIS) to allow access to a web application such as Exchange ActiveSync, Outlook Web App, or the Autodiscover service.
You can access or modify these Virtual Directories from either Exchange Admin Center or from PowerShell. So first let me show you how to access and modify these Virtual Directories from Exchange Admin Center.
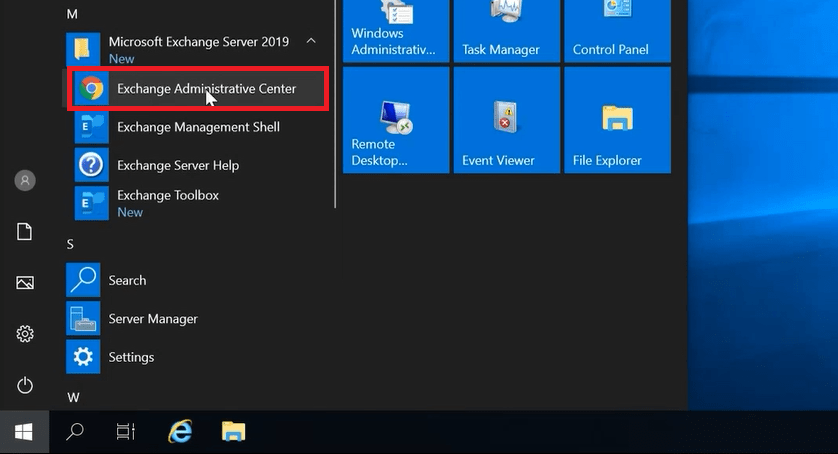
To open Exchange Admin Center, click Windows icon, expand Microsoft Exchange Server 2019, and click Exchange Administrative Center. You can also search Exchange Administrative Center in Windows search.
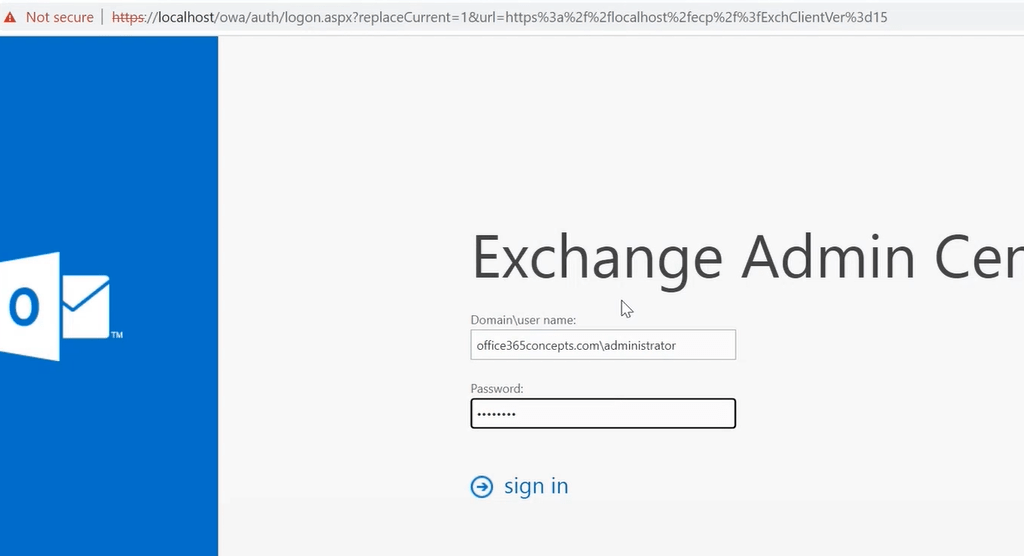
Login to Exchange Administrative Center with an admin account.
To access virtual directories in Exchange Server 2019, on Exchange Admin Center click servers and click virtual directories.
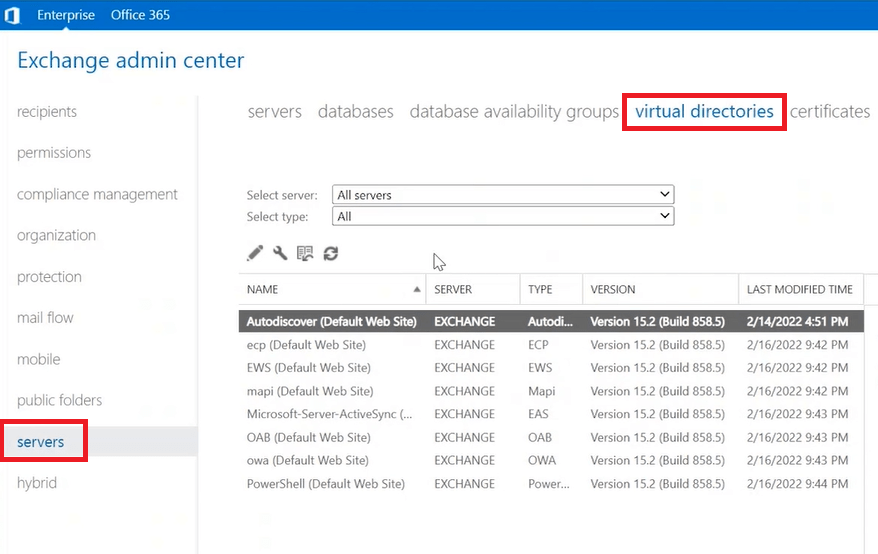
Under virtual directories section you will see 8 virtual directories. So let’s talk about these virtual directories one by one and lets understand the function of each virtual directory.
- Autodiscover (Default Web Site): The first virtual directory that we can see in above image is Autodiscover (Default Web Site). This is the endpoint that hosts the XML file that is used by Outlook and ActiveSync clients to find the Exchange settings for a user mailbox.
- ecp (Default Web Site): ECP or Exchange Control Panel virtual directory hosts the website that is used to access Exchange Admin Center.
- EWS (Default Web Site): EWS or Exchange Web Services is one of the most important virtual directories. Some of the features those are provided by EWS virtual directories are calendar sharing with external users, free/busy, out of office messaging and connecting 3rd party applications with the client’s mailbox.
- mapi (Default Web Site): MAPI virtual directory is used by the supported versions of Microsoft Outlook to connect to a user mailbox.
- Microsoft-Server-ActiveSync (Default Web Site): This virtual directory allows the mobile devices to connect to the user mailboxes.
- OAB (Default Web Site): OAB stands for Offline Address Book. This virtual directory hosts XML files that contain a copy of Exchange organization’s Global Address List (GAL). This Offline Address Book is used by the outlook clients when you are working offline in outlook or you are in disconnected mode.
- owa (Default Web Site): OWA (Outlook on the Web) virtual directory hosts the web-based Outlook website that is used by the users to access their mailboxes.
- PowerShell (Default Web Site): This virtual directory provides administrators with remote access to the Exchange Management Shell. Exchange Management Shell is a PowerShell from where an administrator can manage Exchange Server.
Default configuration of virtual directories
When we install Exchange Server, virtual directories have default internal and external URLs. In our scenario, Exchange Server machine name is exchange and we are using a custom domain (routable domain) office365concepts.com. So the default internal and external URLs are set as shown below:
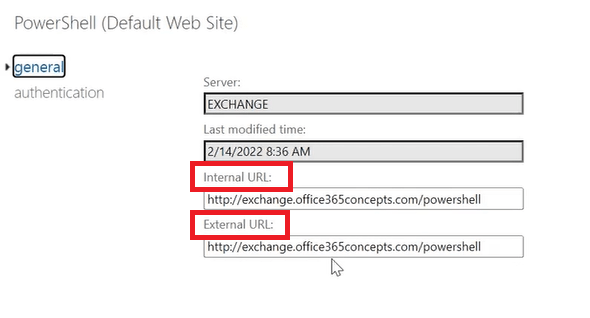
I will be changing both internal and external URLs from https://exchange.office365concepts.com to https://mail.office365concepts.com because later we will be creating internal and external DNS records for mail.office365concepts.com.
Note: If you are using a local domain in Exchange Server, make sure you buy a custom domain and change the domain name in virtual directories.
Configure Exchange Server 2019 virtual directories
You can find internal and external URLs in the below table for your reference:
| Virtual Directory name | Internal and External URLs |
| Autodiscover (Default Web Site) | https://mail.office365concepts/Autodiscover/Autodiscover.xml |
| ecp (Default Web Site) | https://mail.office365concepts/ecp |
| EWS (Default Web Site) | https://mail.office365concepts/ews |
| mapi (Default Web Site) | https://mail.office365concepts/mapi |
| Microsoft-Server-ActiveSync (Default Web Site) | https://mail.office365concepts/Microsoft-Server-ActiveSync |
| OAB (Default Web Site) | https://mail.office365concepts/oab |
| owa (Default Web Site) | https://mail.office365concepts/owa |
| PowerShell (Default Web Site) | https://mail.office365concepts/powershell |
Configure Exchange Server 2019 virtual directories with PowerShell script
If you want to configure virtual directories using PowerShell script, you can download script from here.
You can also use below PowerShell commands to configure virtual directories in Exchange Server.
#ECP Virtual Director#
Get-EcpVirtualDirectory -Server exchange | Set-EcpVirtualDirectory -InternalURL "https://mail.office365concepts.com/ecp" -ExternalURL "https://mail.office365concepts.com/ecp"

#OWA Virtual Directory#
Get-OWAVirtualDirectory -Server exchange | Set-OWAVirtualDirectory -InternalURL "https://https://mail.office365concepts.com/owa" -ExternalURL "https://mail.office365concepts.com/owa"

#OAB Virtual Directory#
Get-OABVirtualDirectory -Server exchange | Set-OABVirtualDirectory -InternalURL "https://mail.office365concepts.com/oab" -ExternalURL "https://mail.office365concepts.com/oab"

#ActiveSync#
Get-ActiveSyncVirtualDirectory -Server exchange | Set-ActiveSyncVirtualDirectory -InternalURL "https://mail.office365concepts.com/Microsoft-Server-ActiveSync" -ExternalURL "https://mail.office365concepts.com/Microsoft-Server-ActiveSync"

#EWS Virtual Directory#
Get-WebServicesVirtualDirectory -Server exchange | Set-WebServicesVirtualDirectory -InternalURL "https://mail.office365concepts.com/EWS/Exchange.asmx" -ExternalURL "https://mail.office365concepts.com/EWS/Exchange.asmx"

#Mapi Virtual Directory#
Get-MapiVirtualDirectory -Server exchange | Set-MapiVirtualDirectory -InternalURL "https://mail.office365concepts.com/mapi" -ExternalURL "https://mail.office365concepts.com/mapi"
Configure DNS records in Active Directory
Configuration of DNS records in Active Directory is very important because without required DNS records, DNS will not be able to resolve Exchange applications internally.
For example, if you will try to open OWA using internal or external URL and you do not have required DNS records in Active Directory, you will get below error:
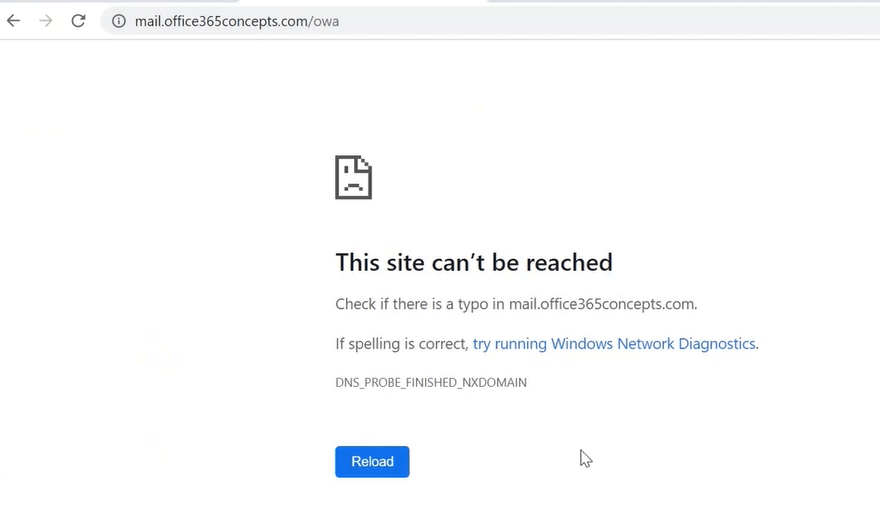
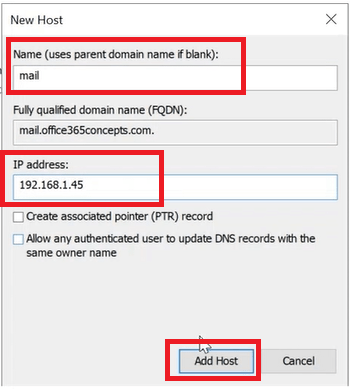
Create A record in Active Directory
Go to DNS server and open DNS Manager. Exchange server name, expand Forward Lookup Zone and select your Active Directory domain name.
First we will create A record and will point it to the Exchange server. Right click and select New Host (A or AAAA). Under Name, type mail, FQDN will aut0matically become mail.office365concepts.com, and IP address type the IP address of Exchange Server and click Add Host.
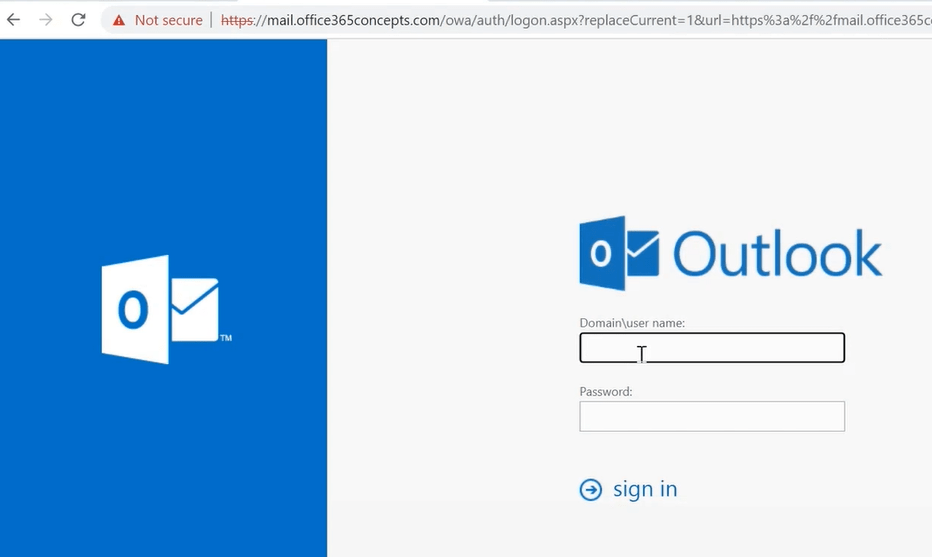
And now if we try again to open OWA, we will be able to access it.
Conclusion
In this article we learnt how to setup a new Exchange server 2019 post installation, we learnt what are Exchange Server virtual directories, how to configure virtual directories, and how to create required DNS records in Active Directory so that you can access Exchange server applications internally.
Found this video helpful and informative? You may also like Microsoft 365 Tenant to Tenant Migration. Please share this blog within your community and follow us by joining our Newsletter for recent updates.
Related articles
We invite you to browse our articles on Microsoft Intune:
Demystifying Microsoft Intune: The Ultimate Guide
Decoding MDM vs MAM: A Closer Look at Mobile Management Approaches
Prepare tenant for device enrollment – Microsoft Intune
Categorize devices into groups using Device Categories in Microsoft Intune
Enrollment types for Windows devices in Microsoft Intune
Enroll corporate-owned Windows 10 devices to Microsoft Intune
Enroll personally-owned (BYOD) Windows 10 devices to Microsoft Intune
Enroll Hybrid Azure AD Joined devices to Intune using Group Policy
Enroll Windows 11 devices to Intune using Company Portal app
Happy Learning!!