
Troubleshooting Inbound connector in Exchange Online
In this blog we will deep dive into Exchange Online Inbound connectors and we will be discussing few proven steps for troubleshooting Inbound connector in Exchange Online.
Table of Contents
With the widespread adoption of cloud-based solutions, Microsoft Exchange Online has become a popular choice for organizations to manage their email services. Exchange Online offers a range of features and functionalities, including the use of inbound and outbound connectors, which play a crucial role in facilitating smooth email communication.
But after a major product change by Microsoft, customers are not able to create or enable OnPremises type Inbound connectors. When you create a new inbound connector, you may see the below error message:
“Inbound connector for this service offering is created in a disabled state. Contact Support to enable it.“
And when you update an Inbound connector of OnPremises type, you may get the below error message:
“For this service offering, you can’t enable an inbound connector. Please contact Support to enable it.“
Troubleshooting Inbound connector in Exchange Online
If you want to relay emails from on-premises Exchange Server to Office 365, you do not need an Inbound connector for this scenario. Consider using Direct Send or Client Submission relay methods. Learn more about relay methods in Office 365.
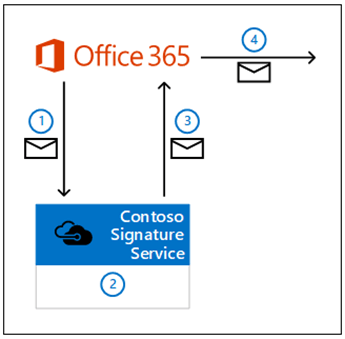
If you want to use a 3rd party email filtering service or a signature server that stamps signatures on every email sent from your organization, and you need an Inbound connector to receive emails back to your tenant from the signature service, follow below steps:
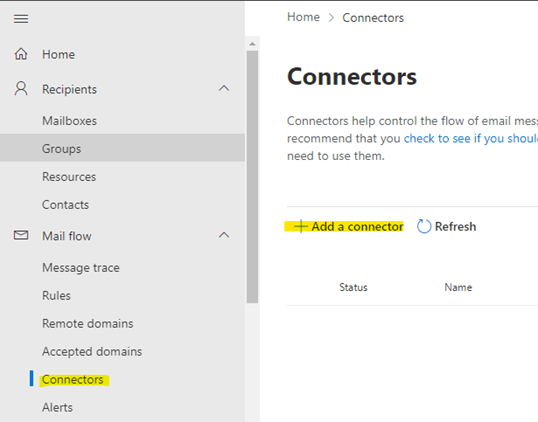
Login to Exchange Online Admin Center, go to Mail Flow > Connectors, and click + Add a connector.
The new connector wizard opens. On the first page, configure these settings:
Connection from: Select Your organization’s email server.
Connection to: Office 365.
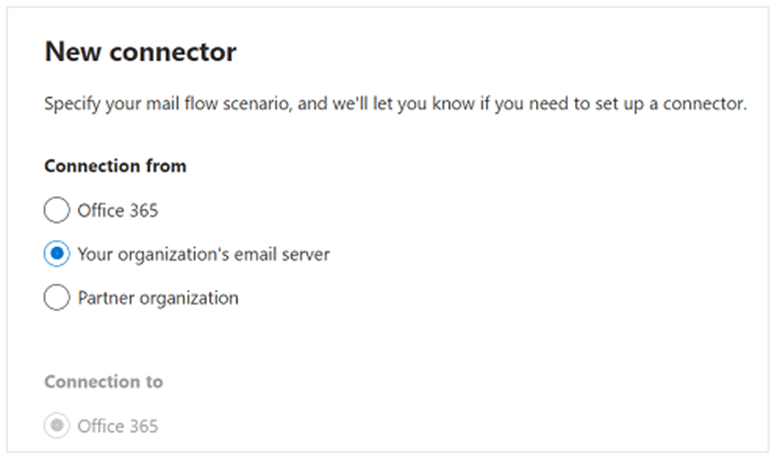
Click Next.
On the Connector name page, configure these settings:
Name: Enter a descriptive name (for example, Contoso Signature Service to Office 365).
Turn it on: Turn on the connector.
Retain internal Exchange email headers (recommended): Check or uncheck this option as per your requirement.
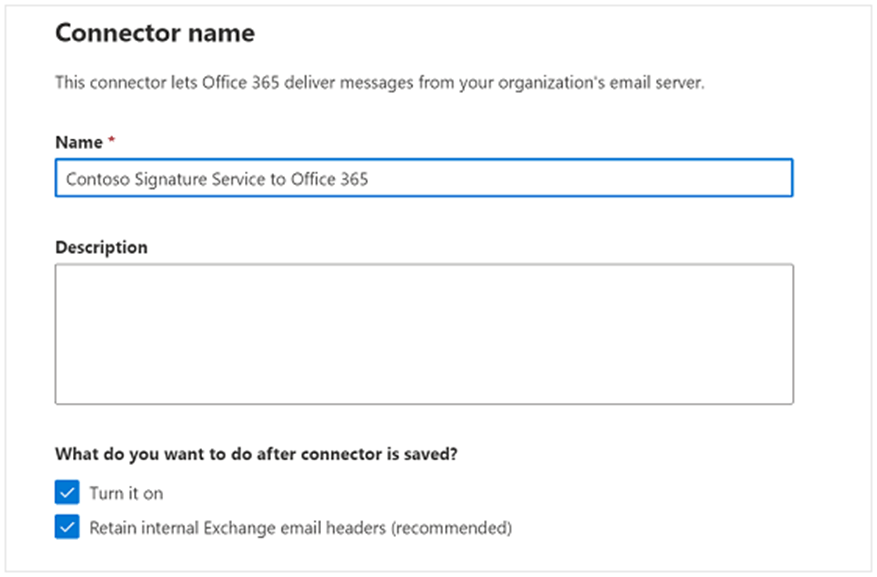
Click Next.
On the Authenticating sent email page, verify that the first option is selected (verify by certificate), and enter the certificate domain that you received from the 3rd party email signature service or email filtering server (for example, FGCD4D6K.smtp.abcsignatureservice.com).
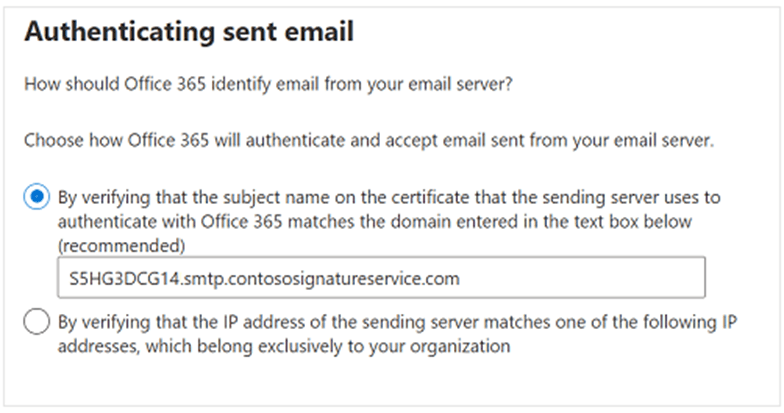
Click Next.
Review the connector settings and click Create connector when you are ready.
I still need OnPremises Inbound connector for my Exchange Online organization
These type of connectors are created as “Disabled” by default. If you are experiencing this behavior, you need to contact Microsoft support with a business justification to enable an Inbound connector of OnPremises type within your tenant.
Further resources
Check our blog posts on Exchange Online:
Troubleshooting Exchange Online Mail Flow: A Comprehensive Guide
Exchange Online Protection (EOP) interview questions and answers
Demystifying the High Risk Delivery Pool (HRDP) in Exchange Online
Exploring the Power of Public Folders in Exchange Online, Office 365 and Microsoft 365
50+ Exchange Online Mail Flow Interview questions and answers